
There’s something magical about walking out to your own garden, basket in hand, and gathering fresh vegetables, fruits, and herbs for your family’s dinner. Starting a self-sufficient garden might sound overwhelming, but trust me — you don’t need acres of land or years of experience to feed your family from your backyard. With a bit of planning, patience, and a willingness to learn as you grow, anyone can build a thriving garden that provides real food for the table. Here’s how to get started.
Table of Contents
Why Self-Sufficient Gardening Matters
Step 1: Assess Your Space
Step 2: Plan What to Grow
Step 3: Prepare Your Soil
Step 4: Start Seeds or Buy Plants
Step 5: Planting Your Garden
Step 6: Watering and Maintenance
Step 7: Harvesting and Preserving
FAQs for First-Time Gardeners
1. Why Self-Sufficient Gardening Matters
For me, it all started with a desire to control what was on my family’s plate. After watching food prices climb and worrying about pesticides and chemicals on store produce, I knew growing my own was the answer. Not only does a self-sufficient garden save money, but it also creates a deep connection to your food and your land. Plus, nothing beats the taste of a sun-ripened tomato still warm from the vine!
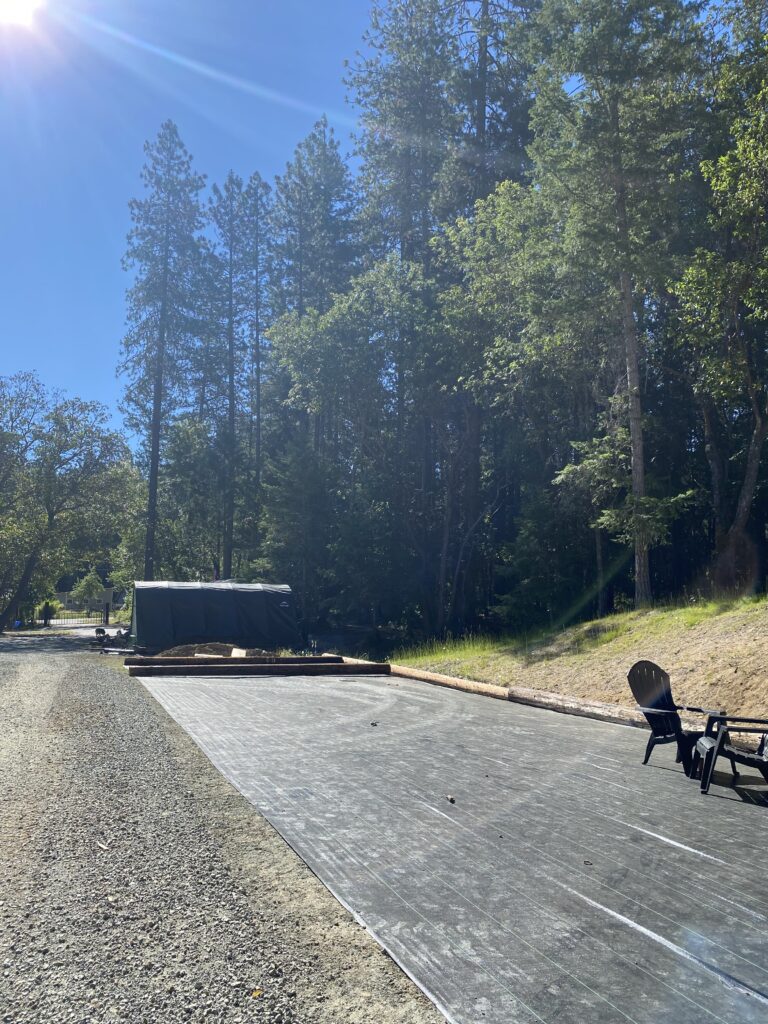
Step 1: Assess Your Space
2. Step 1: Assess Your Space
Before you start planting, take a good look at your yard, patio, or even balcony.
* How much sun do you get? Most veggies need at least 6 hours of direct sunlight a day.
* How much space do you have? Don’t worry if you’re limited — raised beds, containers, and vertical gardening can all work beautifully in small areas.
* Accessibility: Make sure your garden is close enough to a water source and easy to reach with tools.
💡 Personal tip: Start small! A 10×10 plot or a few raised beds are plenty for a beginner.
Step 2: Plan What to Grow
Think about what your family actually eats. There’s no point in growing bushels of eggplant if no one will touch it! Here are some beginner-friendly crops that provide great yields:
* Lettuce, spinach, and kale (quick and easy)
* Tomatoes (essential for sauces, salads, and snacking)
* Zucchini and cucumbers (productive and versatile)
* Green beans (high-yield with minimal space)
* Herbs like basil, cilantro, and parsley (small-space friendly)
💡 Personal tip: Start with just 5-7 crops your family loves, and expand as you gain confidence.
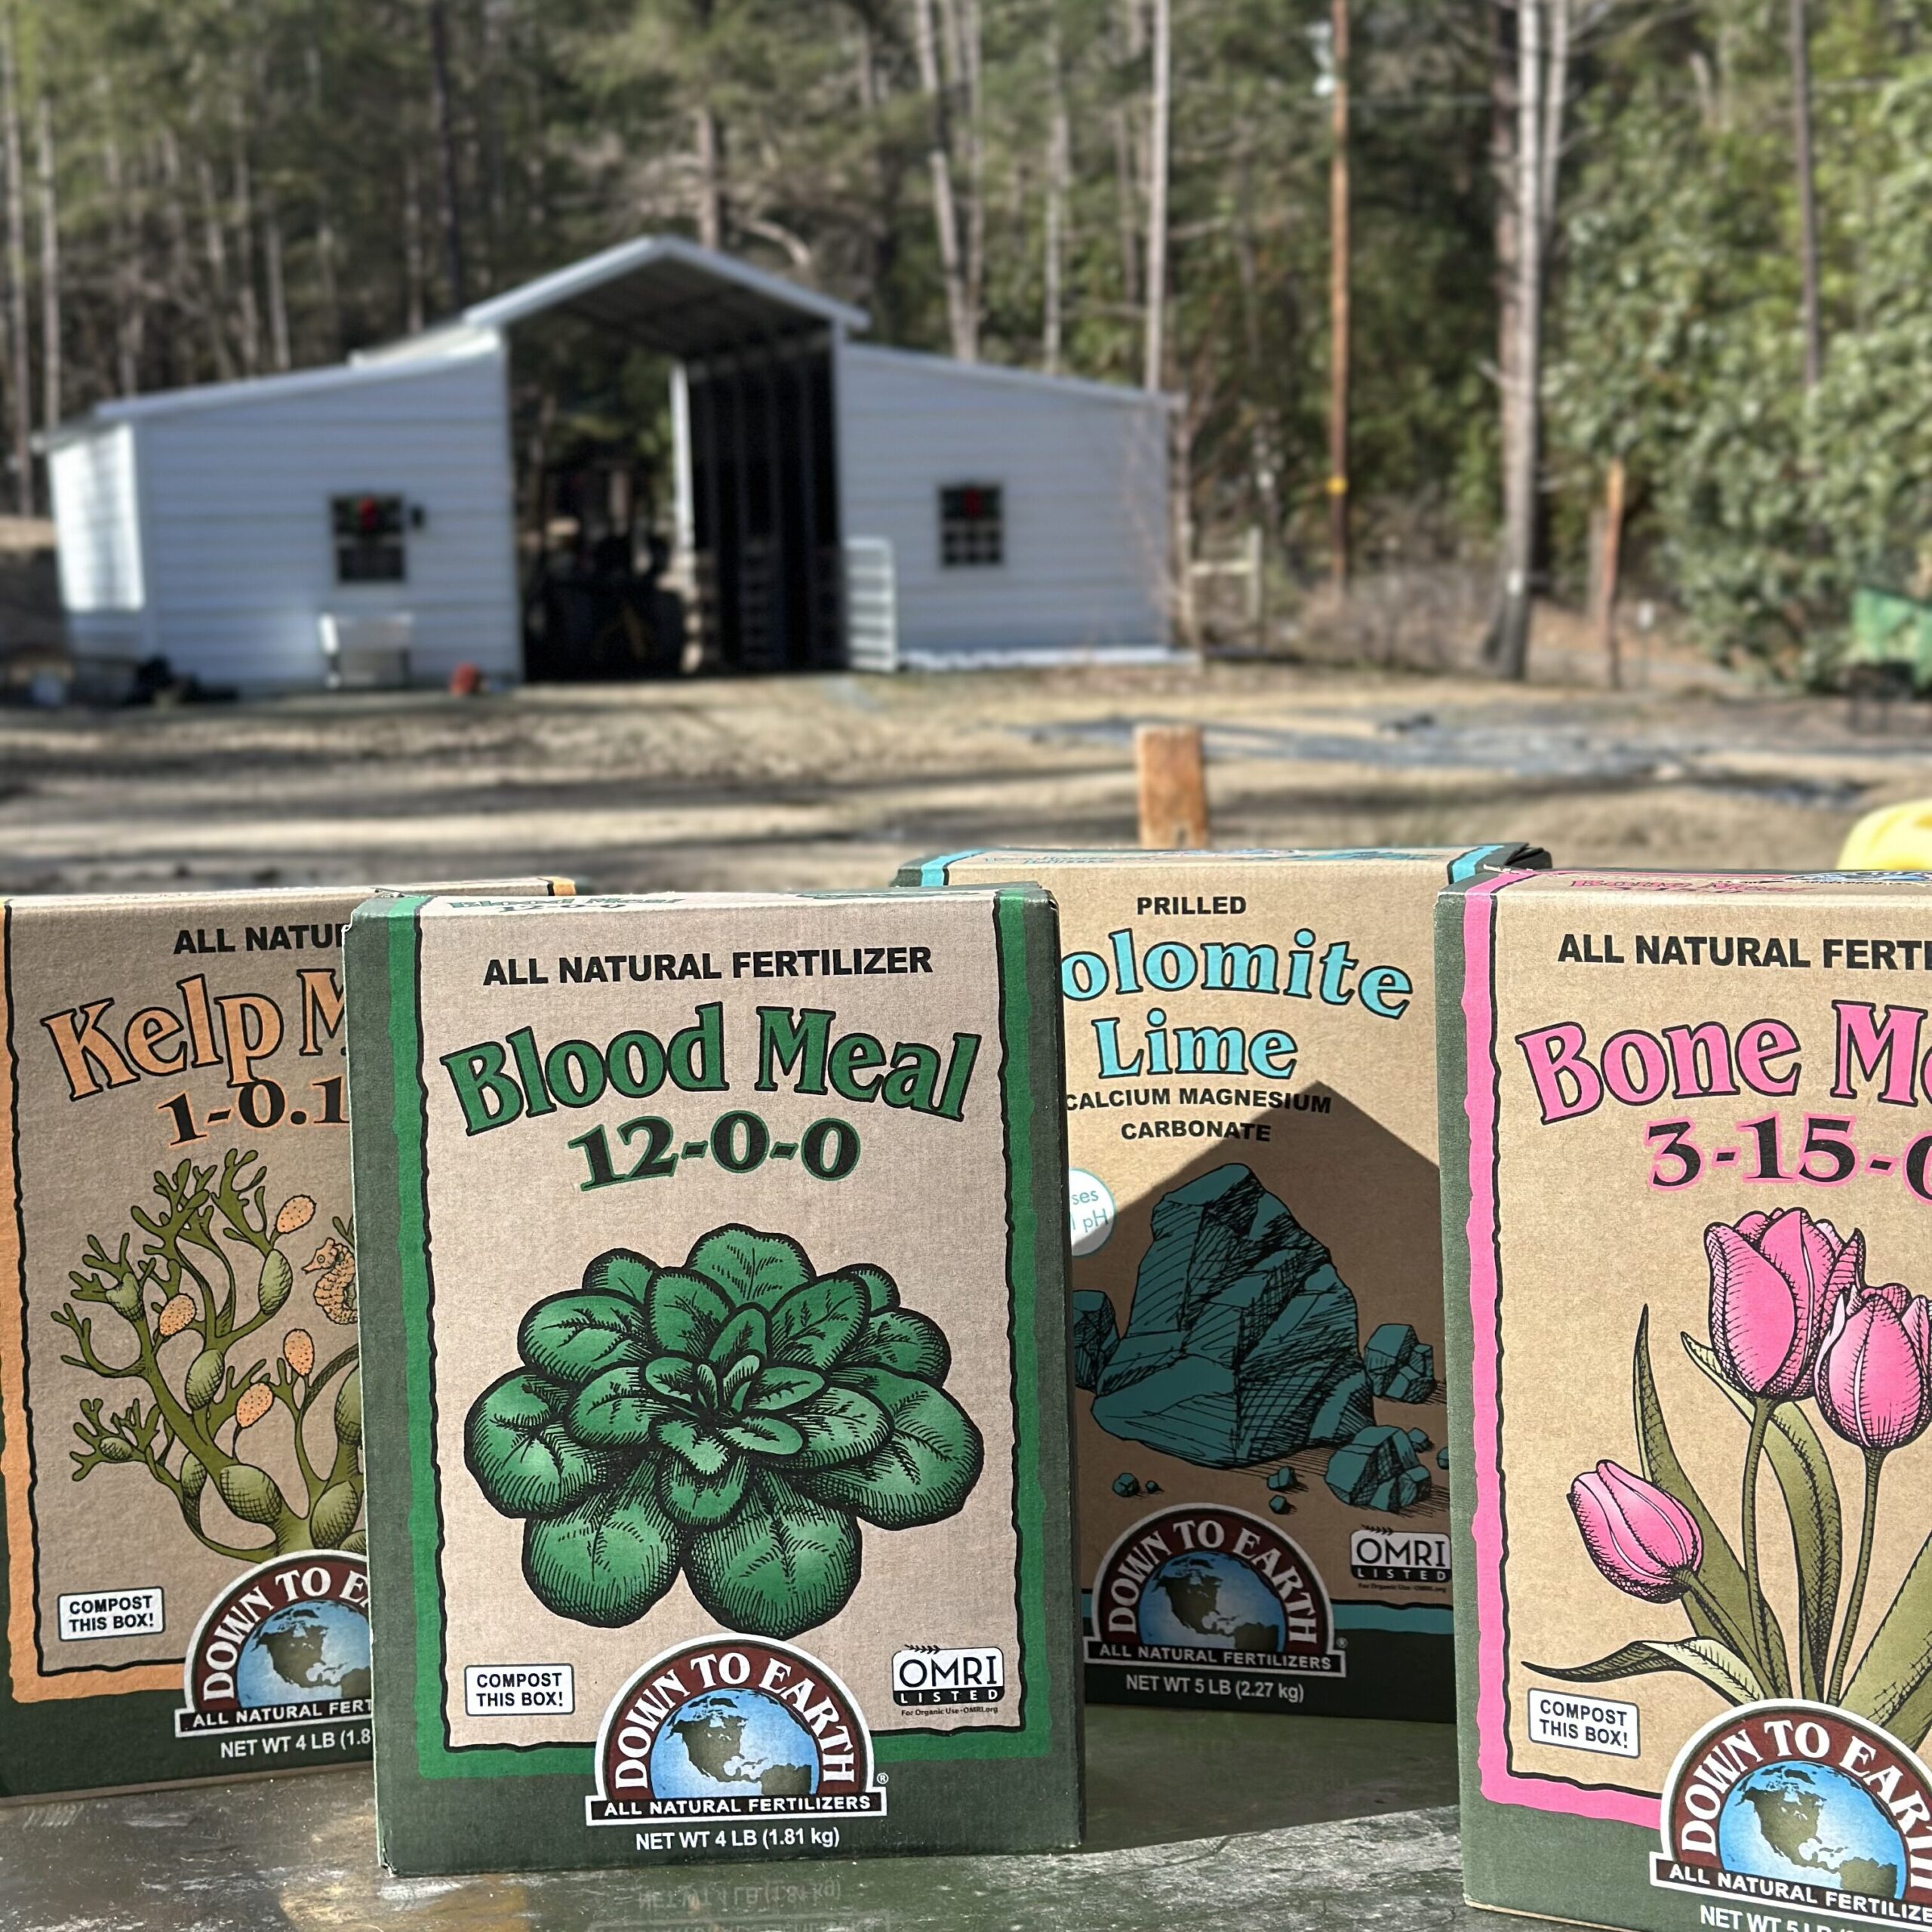
Step 3: Prepare Your Soil
Healthy soil is the foundation of every good garden.
* Test your soil. A simple at-home soil test kit will tell you if you need to add compost, lime, or other amendments.
* Add organic matter. Compost, aged manure, and leaf mold will improve fertility and structure.* Raised beds: If your native soil is poor, consider building raised beds and filling them with a mix of compost, topsoil, and aged manure.
💡 Personal tip: I use the “lasagna method” in new beds — layers of cardboard, compost, straw, and soil — to build healthy soil fast.
Step 4: Start Seeds or Buy Plants
Some plants (like tomatoes and peppers) are easier to start indoors, while others (like beans and squash) can be sown directly in the ground.
* Beginner-friendly tools: Seed trays, a good grow light, and a heat mat can make starting seeds indoors easier.
* Transplants: Don’t hesitate to buy starter plants from your local nursery for your first garden.
💡 Personal tip: I start tomatoes and peppers indoors to get a head start, but direct-sow my beans, peas, and cucumbers.
Step 5: Planting Your Garden
Once the danger of frost has passed, it’s time to plant.
* Follow spacing guidelines to avoid overcrowding.
* Group plants with similar needs (sun, water) together.
* Consider companion planting — marigolds near tomatoes help deter pests.
💡 Personal tip: Don’t stress about getting it perfect! Nature is forgiving, and every season is a learning experience.
Step 6: Watering and Maintenance
Consistent watering is key, especially for young plants.
* Morning watering is best to avoid mildew.
* Mulch helps retain moisture and suppress weeds.
* Organic pest control: Use neem oil, insecticidal soap, or row covers to protect your plants.
💡 Personal tip: I walk my garden every morning with my coffee, pulling weeds and checking for pests — it’s my favorite part of the day.
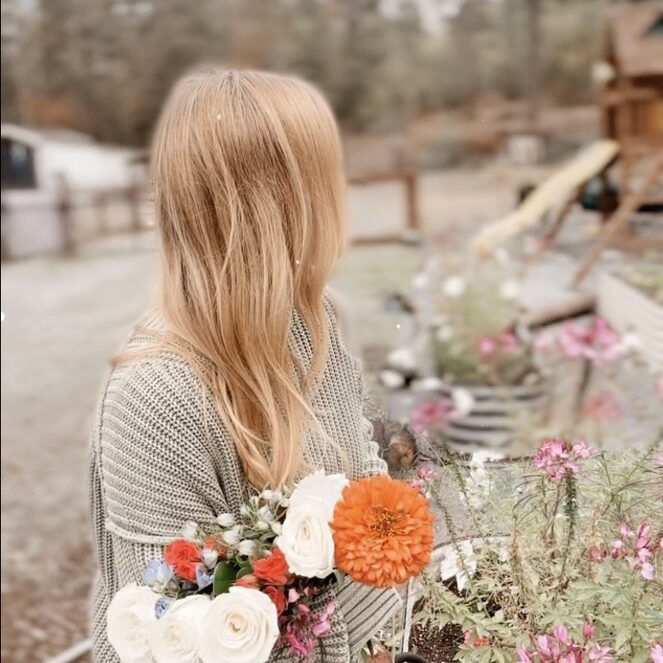
Step 7: Harvesting and Preserving
There’s nothing more rewarding than that first harvest!
* Pick veggies at peak ripeness for best flavor.
* Preserve the extra: canning, freezing, and drying keep your harvest useful year-round.
* Save seeds from your healthiest plants for next year’s garden.
💡 Personal tip: Overwhelmed by zucchini? Make zucchini bread and freeze it for later — future you will thank you.
Starting your first self-sufficient garden is a journey — one filled with dirt under your nails, unexpected challenges, and, ultimately, a pantry full of food you grew yourself. Don’t aim for perfection — just get started, observe, and adjust as you go. You’ll be amazed at how much you learn and how much joy a garden brings to your life.
Happy Gardening
Linnea