
Have you ever wanted to make homemade sourdough from scratch? Well, now’s your chance! There is something so satisfying when you can smell that fresh-baked sourdough from your oven golden with crispy buttery goodness and to think it all started with a little flour and water. The only difficult part of this is having patience (don’t worry, it’s worth it!)

Step 1: Start Your Sourdough Starter
It is the gateway bread IMO. Once you understand the basics of this you can find sourdough discard recipes, sourdough cinnamon rolls, and even my kid’s favorites sourdough pancakes AKA (Hotcakes). Your sourdough starter is like a little pet for your kitchen—nurture it, and it’ll reward you with amazing bread for years to come!n—nurture it, and it’ll reward you with amazing bread for years to come!
Day 1: Skip this step if you already have an active starter
In a bowl or jar, mix 100 grams of flour (unbleached all-purpose is great!)
Next add 100 grams of water, cover with a tea towel and leave it on your counter for 2-3 days and let the magic happen!nbleached all-purpose is great!)
Next add 100 grams of water, cover with a tea towel and leave it on your counter for 2-3 days and let the magic happen!
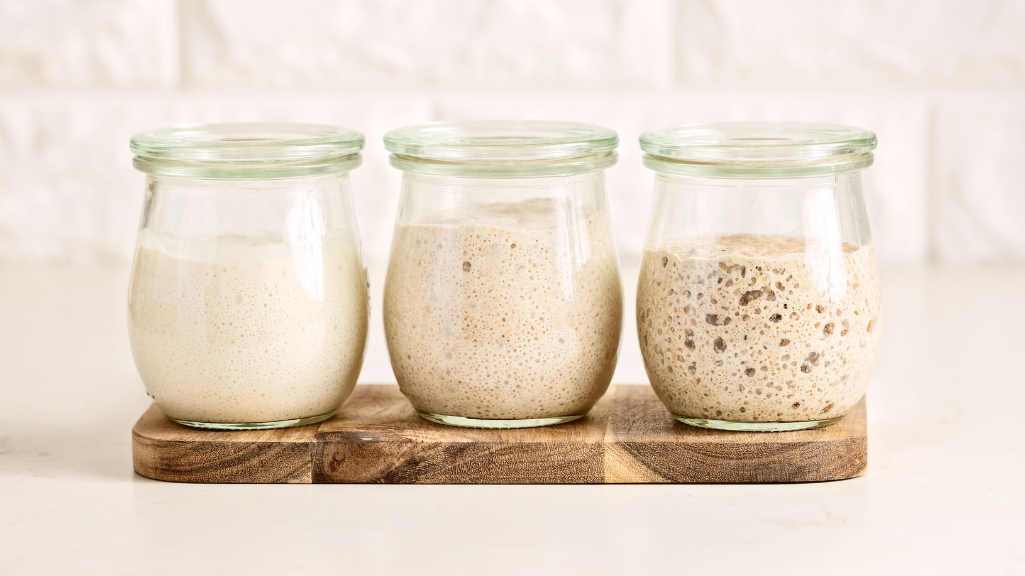
Day 2-3: Bubbles should start to form on top.
After a few days, your starter will grow strong enough to make bread. Every day, discard half of your starter and replace it with 50 grams of flour and 50 grams of water. Room temperature water or slightly warm water works best. Keep it happy, and it will reward you!
Step 2: Feed Your Starter Daily
After a few days, your starter will grow strong enough to make bread. Every day, discard half of your starter and replace it with 50 grams of flour and 50 grams of water. Room temperature water or slightly warm water works best. Keep it happy, and it will reward you!
Step 3: Ready, Set, Rise!
In about a week, your starter will be bubbling, rising, and falling after feedings—this means it’s GO TIME! When it’s rising a few hours after feeding, you know it’s ready to use.
Step 4: Prepping Your Leaven (add flour and water)
The night before you are ready to bake, discard all but 1-2 tablespoons of your starter and mix in 200 grams of flour and 200 grams of water. This new mixture is called your leaven. You’ll use this to make your bread, and don’t worry—what’s left becomes your new starter to keep feeding for future baked goods!
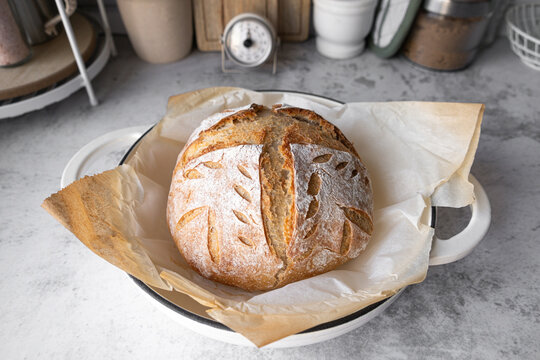
Sourdough starter bubbling away on the counter is just the start in turning the homestead dream into a reality. This simple, from scratch sourdough recipe will give you that cozy, wholesome feeling and let the smell of fresh bread fill your home!away on the counter?
Want to fill your home with the warm, delicious smell of freshly baked sourdough? This recipe will guide you step by step to create two gorgeous loaves from scratch, just like a true baker.
Sourdough Bread Recipe: Makes 2 Loaves
Want to fill your home with the warm, delicious smell of freshly baked sourdough? This recipe will guide you step by step to create two gorgeous loaves from scratch, just like a true homestead pro.
200 grams (1 cup) leaven
700 grams (5⅝ cups) warm water
850 grams (6¾ cups) unbleached all-purpose flour
150 grams (1 cup) wheat flour
30 grams (1½ tablespoons) salt
Two Days Before Baking: Refresh Your Starter
Make sure your starter is strong and bubbly, ready to be turned into leaven the next day. (Check out the “Start Your Own Starter” section for all the deets!)ady to be turned into leaven the next day.
The Day Before Baking: Get the Dough Ready
1. Mix the Leaven: Pour the warm water into a large mixing bowl and gently add your leaven. (Pro tip: It should float—if it does, you’re good to go!) Use your hands to dissolve the leaven into the water.
2. Add Your Dry Ingredients: Toss in the unbleached all-purpose flour, wheat flour, and salt. Mix it all together using your hands, a large spoon, or even a dough hook. You’re aiming for a shaggy, slightly sticky mass where no dry flour is left behind. Let the dough rest for 20 minutes to let the flours hydrate.
3. Knead & Let It Rest: After 20 minutes, mix the dough again for 1-2 minutes until it feels more cohesive. Cover with a tea towel and let it rise in a warm spot for 30 minutes. (Tip: Turn your oven on at 350°F for 1 minute, then turn it off. Place the bowl inside to create the perfect warm, cozy spot for your dough to rise.)
4. Stretch & Fold (the Secret to That Perfect Chewy Crust!)
With wet hands, make your first stretch-and-fold technique: gently lift the dough from underneath, stretch it up, and fold it back over itself. Repeat this move four times, rotating the bowl to cover each side.
Let the dough rest for 1 hour, then repeat the stretch-and-fold process three more times. This technique helps build gluten strength, giving your bread that beautiful texture we all love.
Shaping & Final Rest
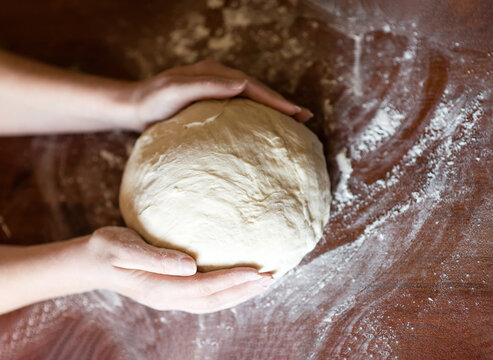
1. Divide & Shape: Once your dough has finished its stretch-and-fold routine, turn it out onto a floured surface and divide it into two pieces.
2. Shape the Loaves: Take each piece and fold the edges toward the center, forming a round shape. Place each piece seam side down on the counter, with the smooth, taut side facing up. Cover with a towel and let the dough rest for 20 minutes.
Next step? Baking day! But for now, your dough is in great shape. Keep an eye on that rise, and soon you’ll be slicing into the most satisfying homemade sourdough.
Final Shaping & Overnight Rest
1. Reshape the Dough: Turn each piece of dough seam side up (you’ll notice it’s relaxed a bit!). To reshape, pull out the four corners to make the dough flat, then fold two opposite corners into the center, followed by the other two. Flip the dough back over so the seams are down and the top is smooth and taut. Repeat with the second piece.
2. Prep for the Fridge: Place your loaves seam side up, taut side down, into lined, floured shaping baskets (or bowls lined with a well-floured tea towel). Cover with plastic wrap to keep the dough nice and cozy.
3. Rest in the Fridge: Pop your covered dough into the fridge overnight (or up to 3 days!) to let the flavor develop. The long, cold rest helps the dough build character and that sourdough tang we all love.
Baking Day!
1. Let It Warm Up: Take your dough out of the fridge and let it sit on the counter while you preheat the oven.
2. Preheat the Oven: Set your oven to 500°F with your Dutch oven or cast iron pot inside (lids on). Let everything get nice and hot—this helps you achieve that amazing crispy crust!
3. Prep for Baking: Once the oven is ready, cut two pieces of parchment paper and lightly flour them. Flip your dough out onto the parchment paper (seam side down, taut side up again). Use a sharp knife or razor blade to score the top—this allows the bread to rise and expand beautifully while baking.
4. Bake Time: Pick up the dough using the parchment paper and carefully place it into your preheated Dutch oven or cast iron pot. Cover with the lid and bake at 500°F for 20 minutes.
5. Second Bake: Reduce the heat to 450°F, remove the lids, and bake for an additional 20-25 minutes, until the loaves are a gorgeous golden brown (or deeper, depending on your preference!).
6. Cool & Enjoy: Remove your bread from the oven and let it cool on racks for at least 30 minutes—this helps the inside set perfectly.
Happy Baking!
Linnea